싱글 파일 업로드
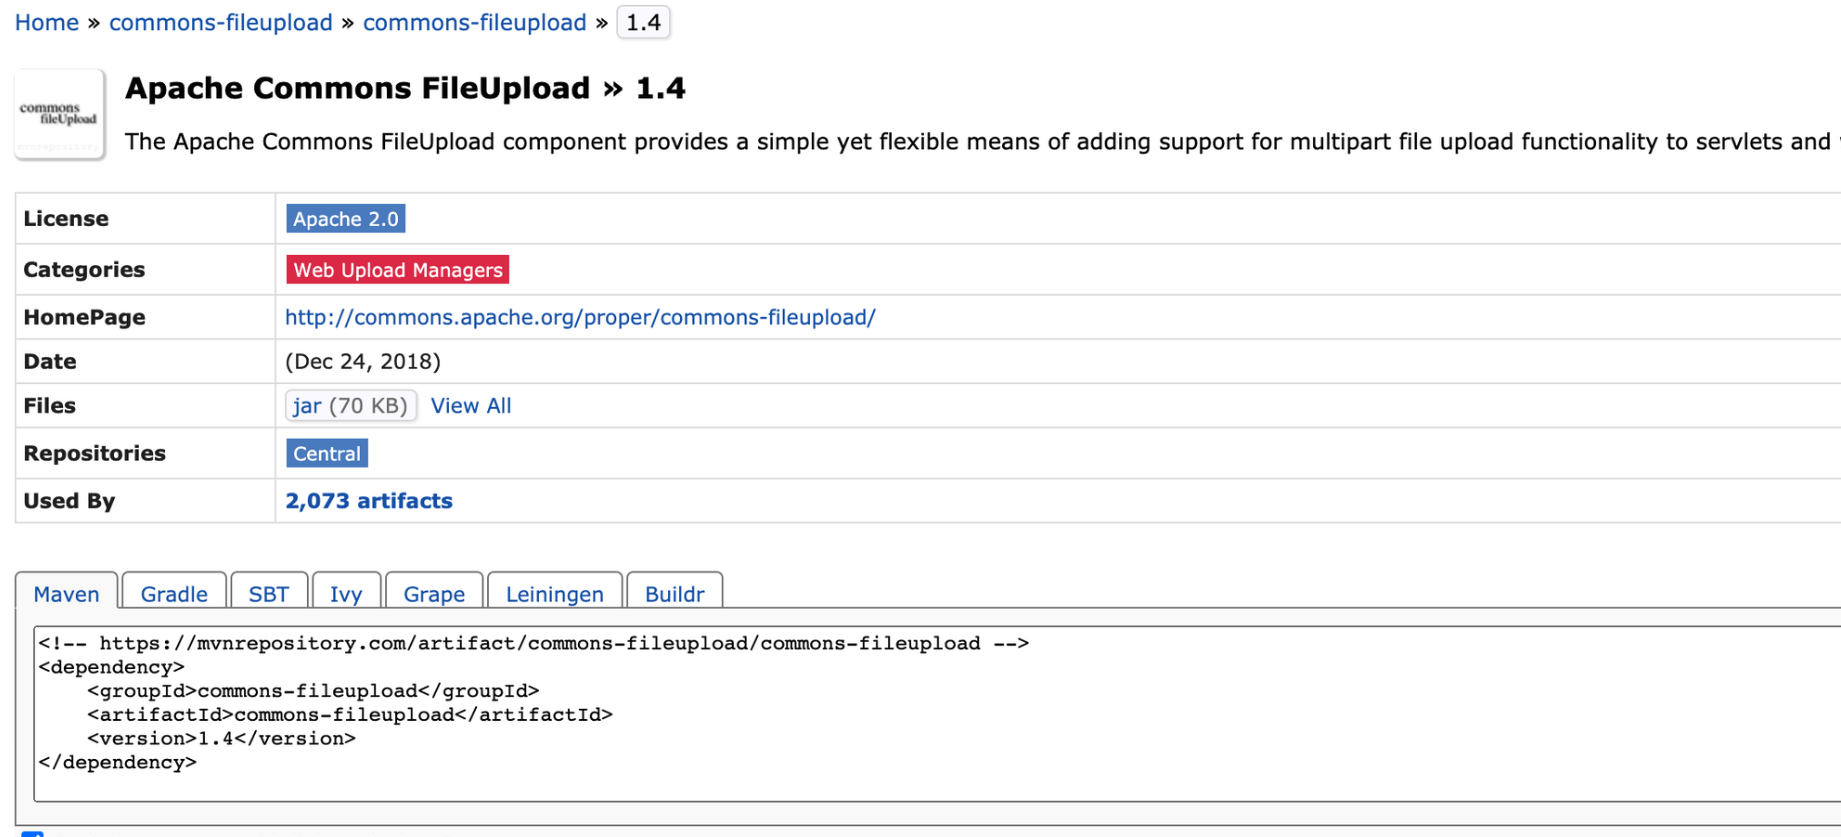
아래 디팬던시 추가
Maven Repository: commons-fileupload » commons-fileupload » 1.4
The Apache Commons FileUpload component provides a simple yet flexible means of adding support for multipart file upload functionality to servlets and web applications. commons-fileupload commons-fileupload 1.4 // https://mvnrepository.com/artifact/commons
mvnrepository.com

위 디팬던시를 pom.xml에 추가 하고 servlet-context.xml에 멀티파트리절버를 추가한다.
<beans:bean id="multipartResolver" class="org.springframework.web.multipart.commons.CommonsMultipartResolver"></beans:bean>
이상으로 준비는 끝났다.
이제 파일을 업로드 할 수 있는 페이지를 만들자
<form action="upload" method="post" enctype="application/x-www-form-urlencoded">
  <div>
    <label for="sabun">sabun</label>
    <input type="text" name="sabun" id="sabun">
  </div>
  <div>
    <label for="file1">file1</label>
    <input type="file" name="file1" id="file1">
  </div>
  <div>
    <button>전송</button>
  </div>
</form>그리고 form 태그의 enctype를 디폴트에서 enctype="multipart/form-data" 이렇게 변경해 준다.
이제 컨트롤러에서
@RequestMapping(value="/upload", method=RequestMethod.POST)
@ResponseBody
public void upload(@RequestParam("sabun") int sabun, MultipartFile file1) {
  logger.info("sabun : "+sabun);
  logger.info("file1 : "+file1.getOriginalFilename());
}위처럼 바로 받아서 사용할 수 있다. sabun은 @RequestParam으로 받고
파일은 MultipartFile 로 객체로 받을 수 있다.
아래는 자바의 IO를 통한 처리
@RequestMapping(value="/upload", method=RequestMethod.POST)
@ResponseBody
public void upload(@RequestParam("sabun") int sabun, MultipartFile file1) {
  logger.info("sabun : "+sabun);
  logger.info("file1 : "+file1.getOriginalFilename());
String path="//Users//moony//Desktop//webWorkspace_sts//upload//";
File file=null;
file = new File(path+System.currentTimeMillis()+file1.getOriginalFilename());
InputStream is = null;
OutputStream os = null;
try {
  is = file1.getInputStream();
  os = new FileOutputStream(file);
  int su = -1;
  while((su=is.read())!=-1) {
    os.write(su);
    }
  } catch (IOException e) {
    e.printStackTrace();
  } finally {
	try {
	  if(is!=null)is.close();
	  if(os!=null)os.close();
	} catch (IOException e) {
	  e.printStackTrace();
	}
  }
}
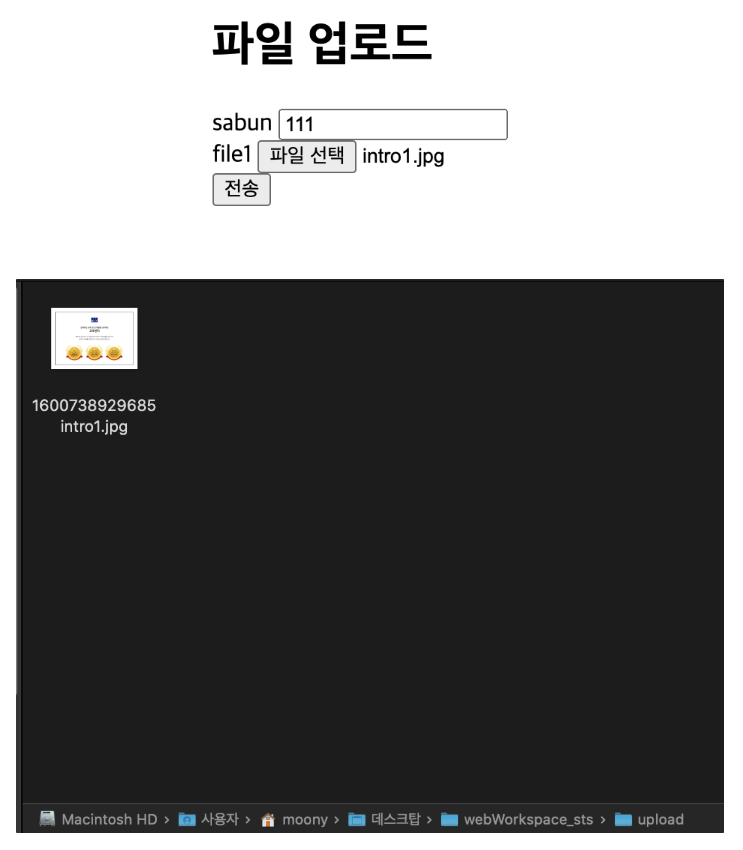
아래처럼 파일을 전송하게 되면 설정한 해당 디렉토리에 파일이 업로드 된다.

하지만 위와같이 처리를하게 되면 파일크기가 크게 되면 수행 속도가 낮다.
이번에는 transferTo 메서드를 사용해서 IO작업을 한다.
@RequestMapping(value="/upload", method=RequestMethod.POST)
@ResponseBody
public void upload(@RequestParam("sabun") int sabun, MultipartFile file1) {
  String orgName=file1.getOriginalFilename();
  String reName=System.currentTimeMillis()+"_"+orgName;
  logger.info(reName);
  String path="//Users//moony//Desktop//webWorkspace_sts//upload//";
  File dest=new File(path+reName);
  logger.info(dest.getAbsolutePath());
  try {
    file1.transferTo(dest);
    logger.info("end IO");
  } catch (IllegalStateException e) {
    e.printStackTrace();
  } catch (IOException e) {
    e.printStackTrace();
  }
}transferTo 메서드가 io작업을 대신 해준다 spring에서 제공
멀티 파일 업로드
위 까지는 싱글 파일이고 아래부터는 여러개의 파일 업로드
developers.google.com/speed/libraries#jquery
Hosted Libraries | Google Developers
A stable, reliable, high-speed, globally available content distribution network for the most popular open-source JavaScript libraries.
developers.google.com
<script src="https://ajax.googleapis.com/ajax/libs/jquery/3.5.1/jquery.min.js"></script>위 코드 jsp 헤드에 선언
<h1>멀티파일업로드</h1>
<form action="uploads" method="post" enctype="multipart/form-data">
  <div>
    <label for="sabun">sabun</label>
    <input type="text" name="sabun" id="sabun"/>
  </div>
  <div>
    <input type="file" name="files"/>
    <input type="file" name="files"/>
    <input type="file" name="files"/>
  </div>
  <div>
    <button>전송</button>
  </div>
</form>
컨트롤러에서는 @Requestparam으로 MultipartFile을 배열로 받아 출력해보자.
@RequestMapping(value="/uploads", method=RequestMethod.POST)
@ResponseBody
public void upload(int sabun,@RequestParam("files") MultipartFile[] files) {
  log.info(files[0].getOriginalFilename());
  log.info(files[1].getOriginalFilename());
  log.info(files[2].getOriginalFilename());
}
이제 @RequestParam()을 빼고 작업해보자
이때 스프링 버전은 4.x 이상 17년버전이상이여야 한다. 4.3.6
- 파일 업로드 사이즈 설정
servlet-context.xml 파일에 아래 프로퍼티를 설정해준다.
<beans:bean id="multipartResolver" class="org.springframework.web.multipart.commons.CommonsMultipartResolver">
  <beans:property name="maxUploadSize" value="1024*1024*1"></beans:property>
</beans:bean>File download
아래처럼 {name:.+} 를 하게되면 . 뒤에 확장자를 포함하여 name으로 받는다.
@RequestMapping("/download/{name:.+}") //확장자 포함 pathVariable
public void download(@PathVariable String name) {
  logger.info(name);
}해서 파일 업로드를 하고 다운로드 클릭 시 로거메시지로 확장자를 포함하여 출력되는 것을 볼 수 있음.

@RequestMapping("/download/{name:.+}") //확장자 포함 pathVariable
public void download(@PathVariable String name, HttpServletResponse res) {
  String origin = name.substring(name.indexOf('_')+1);
  logger.info(name);
  File file = new File(path+name);
  if(file.exists()) {
    OutputStream os = null;
    InputStream is = null;
    res.setContentType("application/octet-stream");
    res.setHeader("Content-Disposition", "attachment; filename=\""+origin+"\"");
    try {
      os = res.getOutputStream();
      is = new FileInputStream(file);
      int su = -1;
      while((su=is.read())!=-1)
        os.write(su);
    } catch (IOException e) {
      e.printStackTrace();
    } finally {
      try {
        if(os!=null)os.close();
        if(is!=null)is.close();
      } catch (IOException e) {
        e.printStackTrace();
      }

    }
}이제 다운로드 버튼을 클릭하게 되면 아래처럼 origin 파일명으로 다운로드 받게 된다.

'Programming > Spring' 카테고리의 다른 글
| [Spring] Ajax 활용하여 로그인 처리 (JSON데이터, 로그인 Session 관리) (1) | 2021.03.18 |
|---|---|
| [Spring MVC] @ModelAttribute 어노테이션 개념 정리 (0) | 2020.12.24 |
| [Spring MVC] <spring:message> 태그로 저장된 문자열 출력 (0) | 2020.12.23 |
| [Log4j] Log4j를 활용하여 log 메시지 보기 (정의, 개념, 설정, 사용법 등) (0) | 2020.11.26 |
| [Spring Test] JUnit Test (JUnit을 활용한 Test 예제) (0) | 2020.11.09 |
